Rocky Mountain
Snowpack Dataset
Overview of the Rocky Mountain Snowpack dataset and the snowGAN.
Accessing the Dataset
The dataset is stored in Hugging Face and can be downloaded directly from pythons huggingface_hub library. You do not have to create an account, however it is recommended to create one and explore everything Hugging Face has to offer at huggingface.co. Who knows, you may find youself wanting to upload a model you created in no time!
You can easily load the dataset in no time through Hugging Face's datasets library...
from datasets import load_dataset

# Load dataset references through git lfs for low-memory access
dataset = load_dataset("rmdig/rocky_mountain_snowpack")
You can also download the dataset through git and update it with periodic pulls. You will need to install lfs.
git clone https://huggingface.co/datasets/RMDig/rocky_mountain_snowpack
Alternatively you could download the dataset through python through Hugging Face's snapshot_download function, but this can be difficult to version control.
from huggingface_hub import snapshot_download

# Download snowpack dataset locally
snapshot_download(
    repo_id="rmdig/rocky_mountain_snowpack",
    repo_type="dataset",
    local_dir="path/to/local/dir/")
Once you have downloaded the data you will find number of folders containing snowpack data
in various forms...
🏔️ rocky_mountain_snowpack
┣ 📂 preprocessed # Contains the fully preprocessed snowpack images
┃ ┗ 📂 cores # Contains images of the snow cores
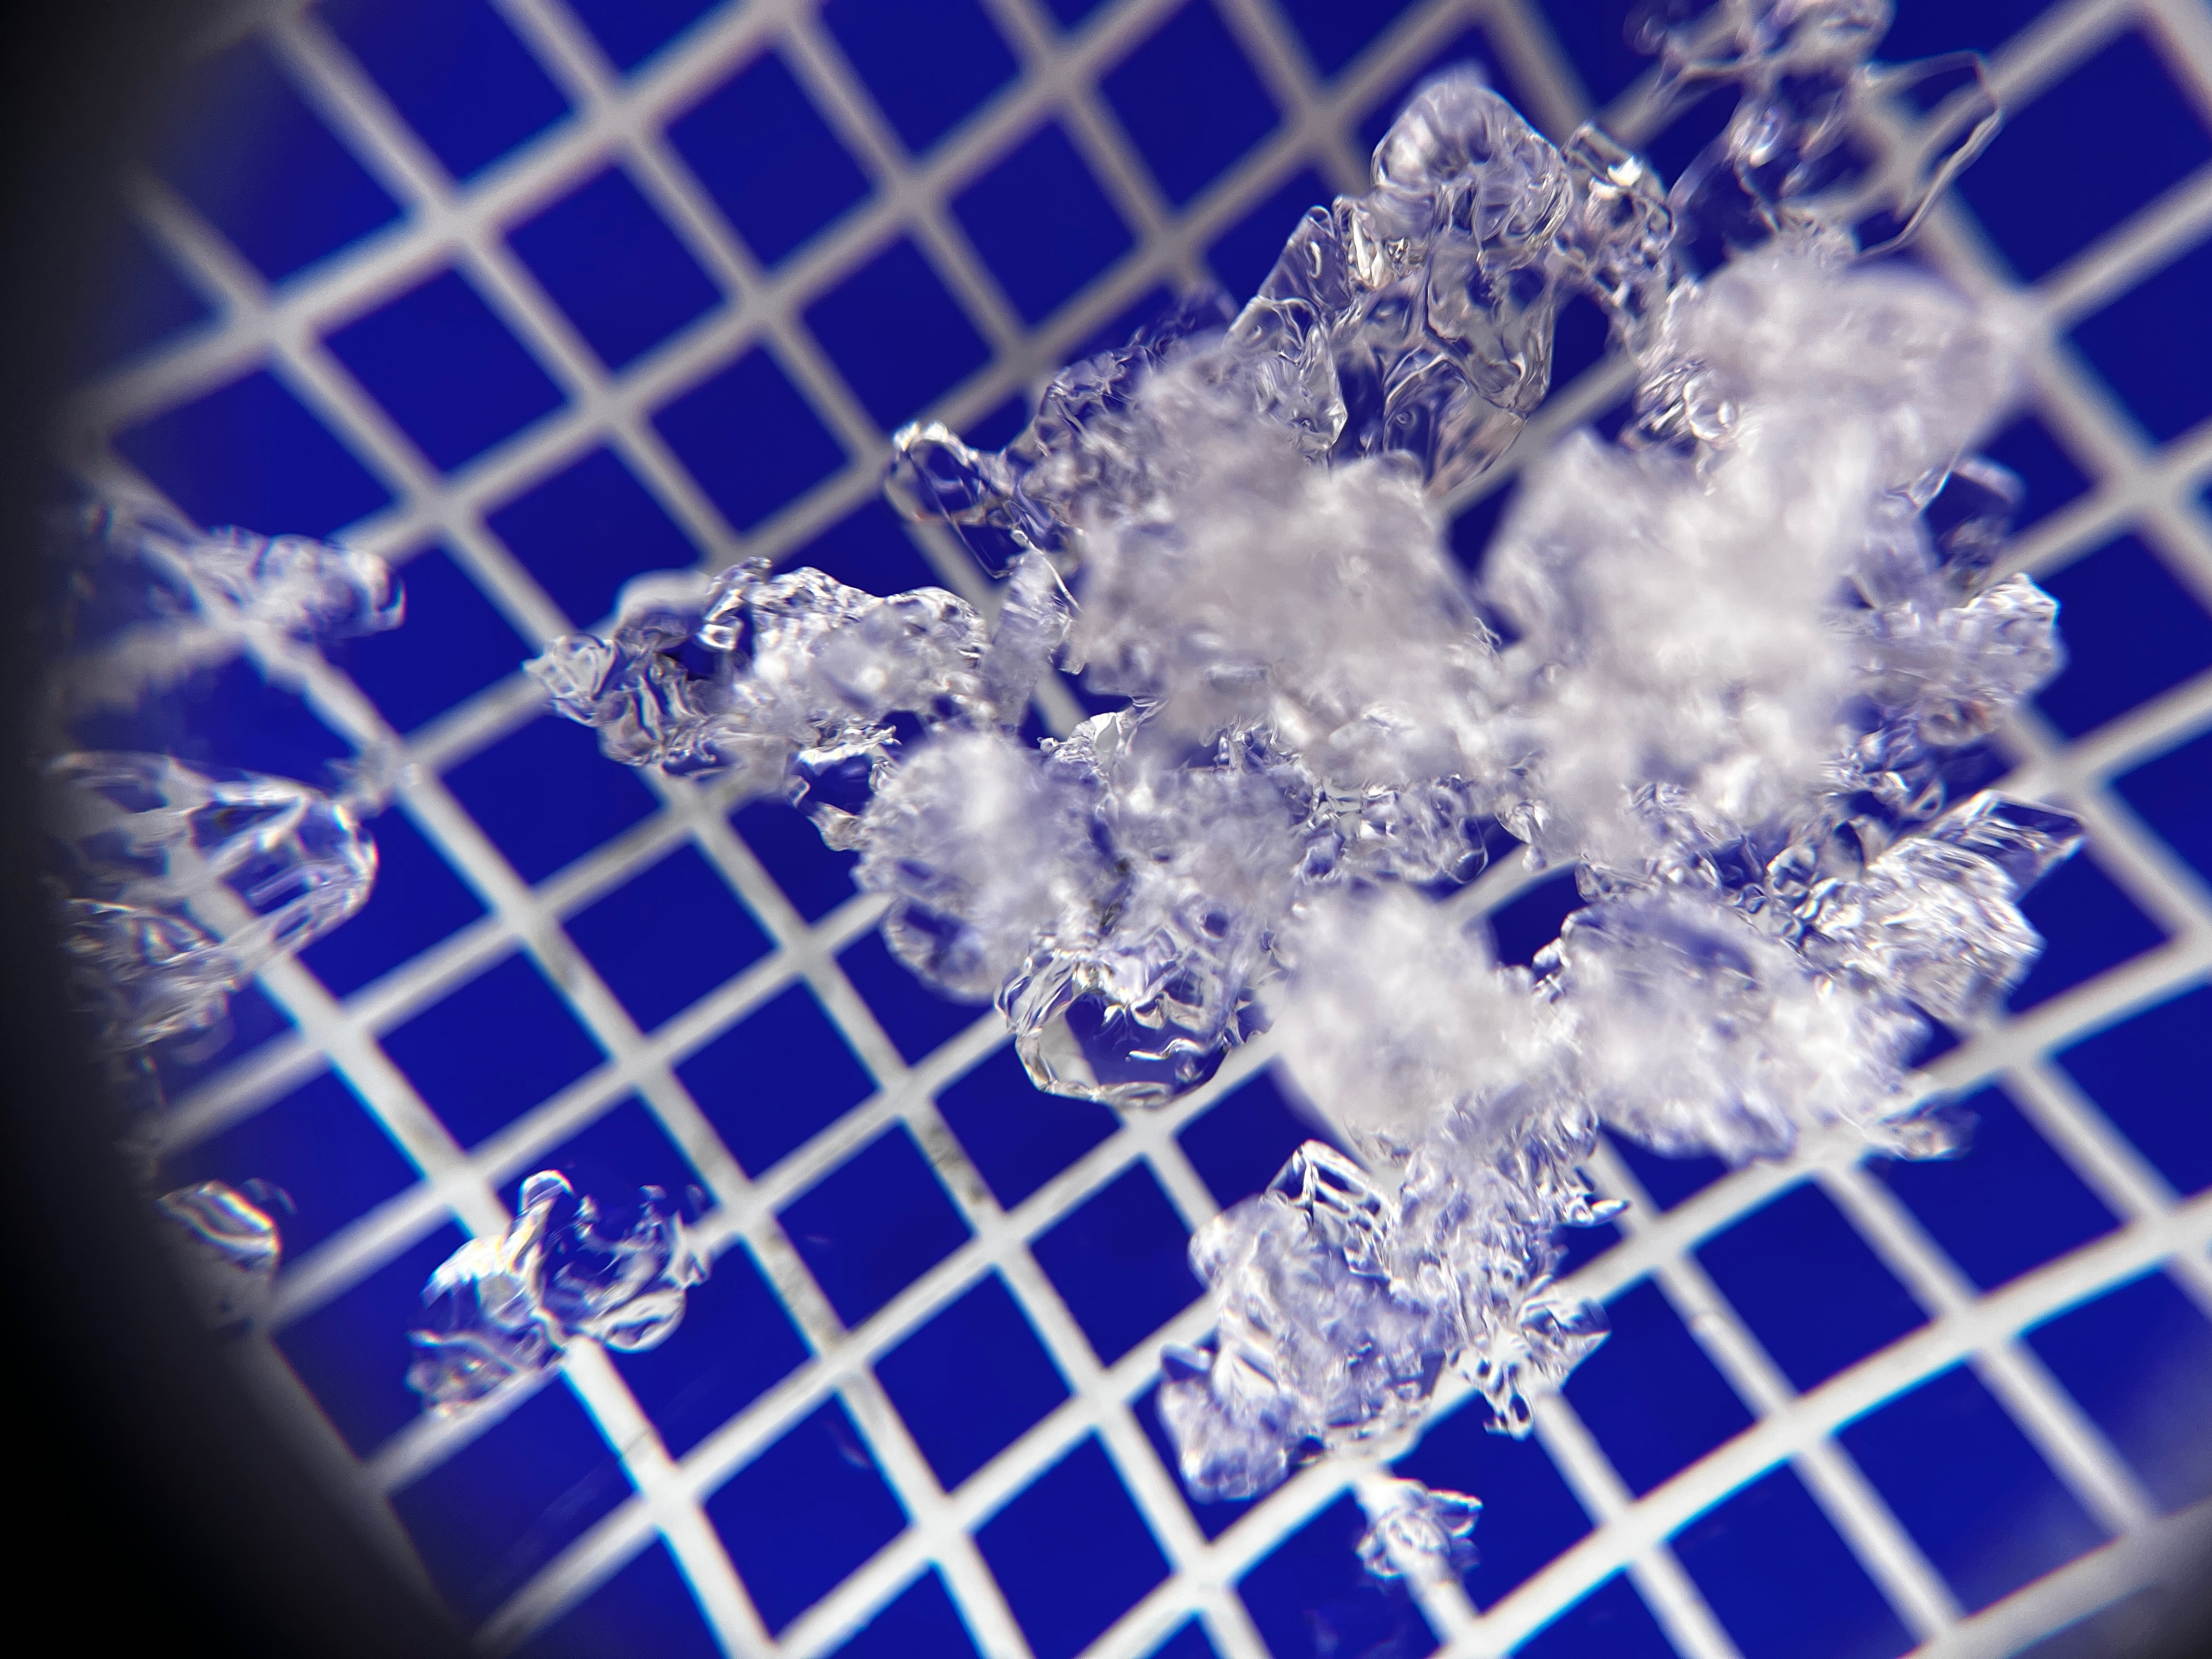
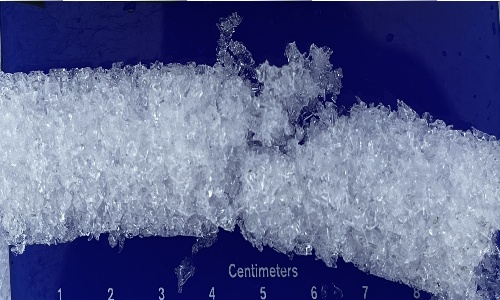
┃ ┗ 📂 magnified-profiles # Contains magnified images of snowpack
┃ ┗ 📂 profiles # Contains non-magnified images of snowpack
┃ ┗ 📂 written_labels # Contains images of segmented labels used for determining location
┣ 📂 raw # Contains raw images of snowpack collected from the rocky mountains using the mini-coring method
┃ ┗ 📂 magnified-profiles # Contains magnified images of snowpack
┃ ┗ 📂 crystal_cards # Contains images of unsegmented crystal cards
┣ 📂 metadata # Metadata of the dataset stored in JSONL files
┃ ┗ 📄 raw.jsonl # Metadata for all raw images
┃ ┗ 📄 preprocessed.jsonl # Metadata for all preprocessed images
┃ ┗ 📄 train.jsonl # Metadata on suggested train split of the dataset
┃ ┗ 📄 test.jsonl # Metadata on suggested test split of the dataset
┃ ┗ 📄 validation.jsonl # Metadata on suggested validation split of the dataset
┣ 📜 LICENSE.txt # CC-by-4.0 license
┗ 📜 README.md # Dataset guide, read!
The fully segmented and preprocess data will be within the preprocessed folders
like rocky_mountain_snowpack/preprocessed/magnified_profiles. Labels for each image can be found
within the JSONL files found in the metadata folder (i.e. rocky_mountain_snowpack/metadata/preprocessed.jsonl).
Each image is attached spatially and temporally to the other images, especially across the datatypes cores, magnified profiles,
and profiles.
This dataset was collected with a method that allows you to related each image within the dataset to all the other images in the dataset, alongside environmental features like world outside of the image! Each image is attached to a specific time and location, alongsige it's location in the snowpack, allowing you to relate important timeseries to the data such as temperature, snowfall, or avalanch risk predictions from the Colorado Avalanche Information Center. Alongside this a rich amount of other data is collected at each site to create a comprehensive labeling of each image.
This dataset was collected with a method that allows you to related each image within the dataset to all the other images in the dataset, alongside environmental features like world outside of the image! Each image is attached to a specific time and location, alongsige it's location in the snowpack, allowing you to relate important timeseries to the data such as temperature, snowfall, or avalanch risk predictions from the Colorado Avalanche Information Center. Alongside this a rich amount of other data is collected at each site to create a comprehensive labeling of each image.
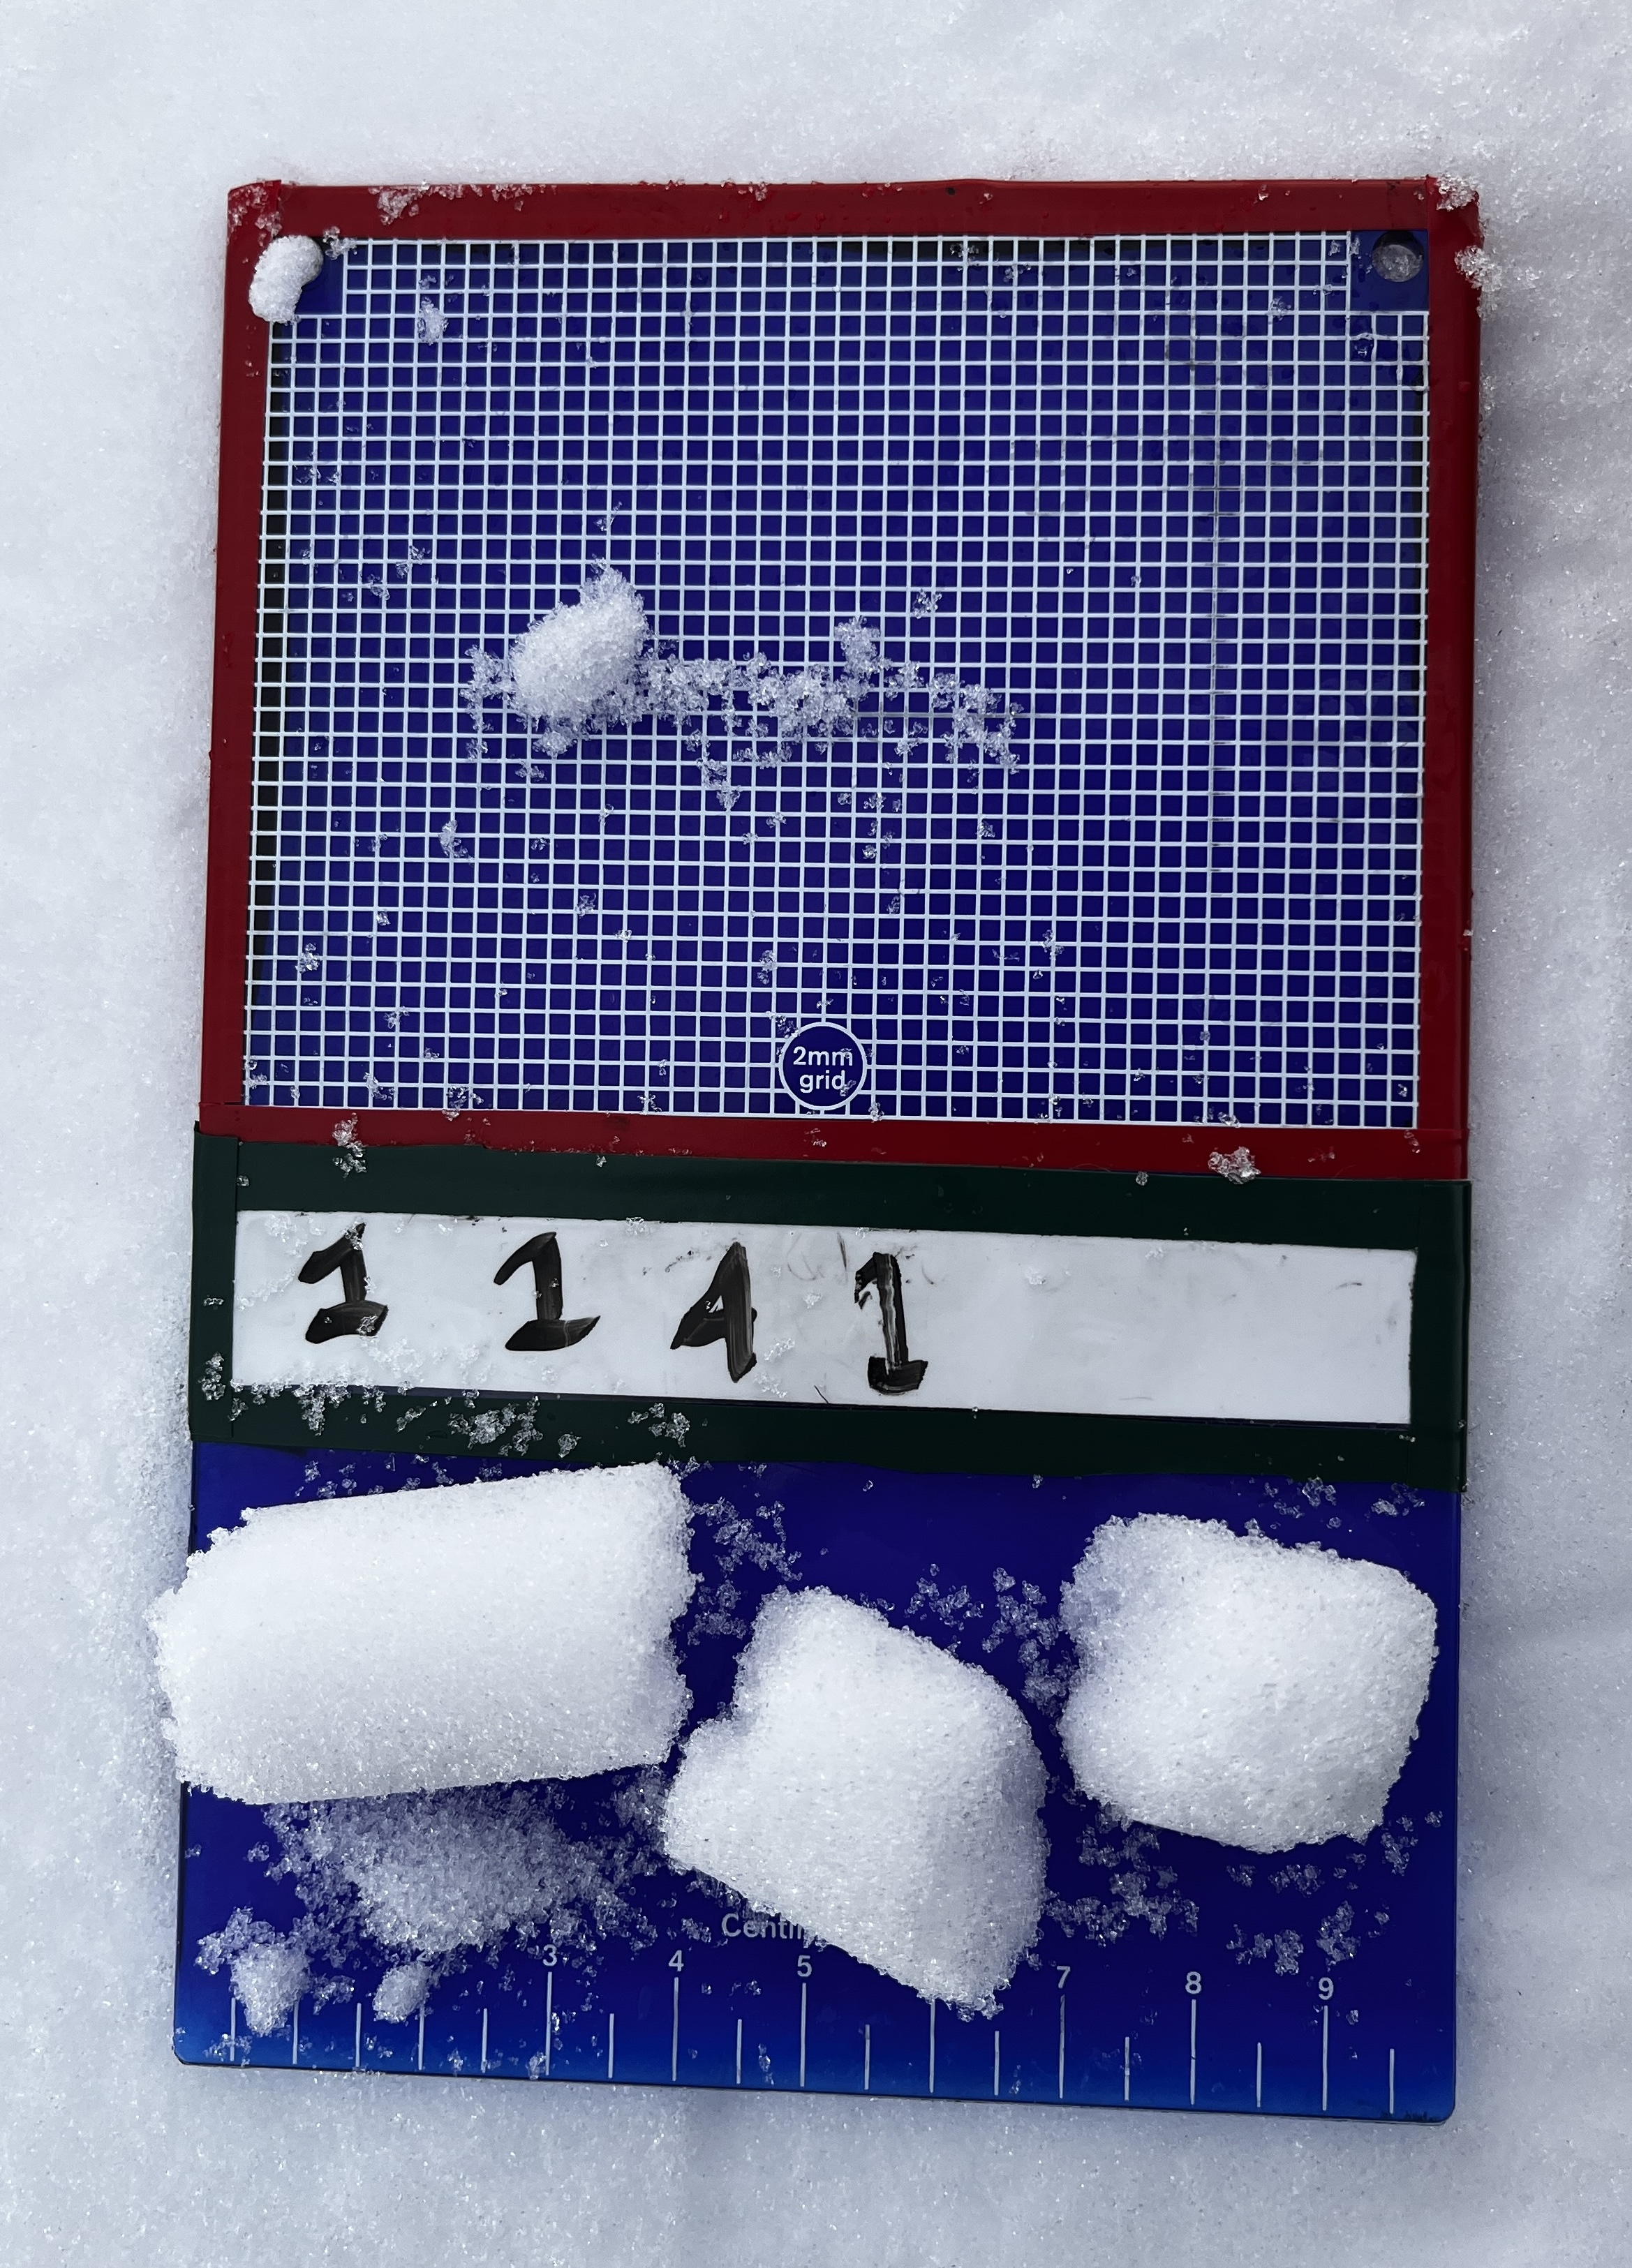 For example, the label for this crystal card indicates this image was collected
from the 1st site, in the 1st column, in the 4th core, and we are picturing the
1st segment. If we looked at the label for the image we would see these same labels
attached to the image in the metadata alongside the following information
For example, the label for this crystal card indicates this image was collected
from the 1st site, in the 1st column, in the 4th core, and we are picturing the
1st segment. If we looked at the label for the image we would see these same labels
attached to the image in the metadata alongside the following information
- Datatype
- Avalanches spotted
- Wind loading
- Snowpack depth
- Core depth
- Slope face
- Slope angle
- Air temperature
- Core temperature
Using these same pre-trained models, or your own model you've built from scratch, we could leverage machine learning to train all kinds of AI. Most importantly we could try and predict the avalanche risk, each image has a label for avalanches spotted nearby attached. If we trained an AI to predict this, then simply outputted the number of avalanches it could be a metric of avalanche activity.